
※This article contains affiliate links.
Hello, this is Pleco Keeping Diary.
This time, I’m sharing the record of setting up a new aquarium for my Imperial Zebra Plecos.
Why add another tank now?
Currently, my Imperial Zebra Plecos are all kept together in a display tank with a centralized filtration system. While this makes management easier, it carries a critical risk.
If a pump failure or disease outbreak occurs in a single tank, there’s a possibility of a total loss in the worst-case scenario.
Imperial Zebra Plecos, in particular, are valuable fish, difficult to acquire and expensive. To prepare for any unforeseen circumstances, I decided to split the group in half for “risk diversification.”
What I acquired this time is a used 60cm wide acrylic tank. Here are the specs:
- Size: 600 × 450 × H400 mm
- Panel Thickness: Side panels 6mm, Bottom panel 4mm
For pleco keeping, bottom area is crucial. The wide 45cm depth is an ideal size, allowing plecos to establish territories and live comfortably. Being acrylic, it’s lightweight and easy to work with, making it an excellent base tank.
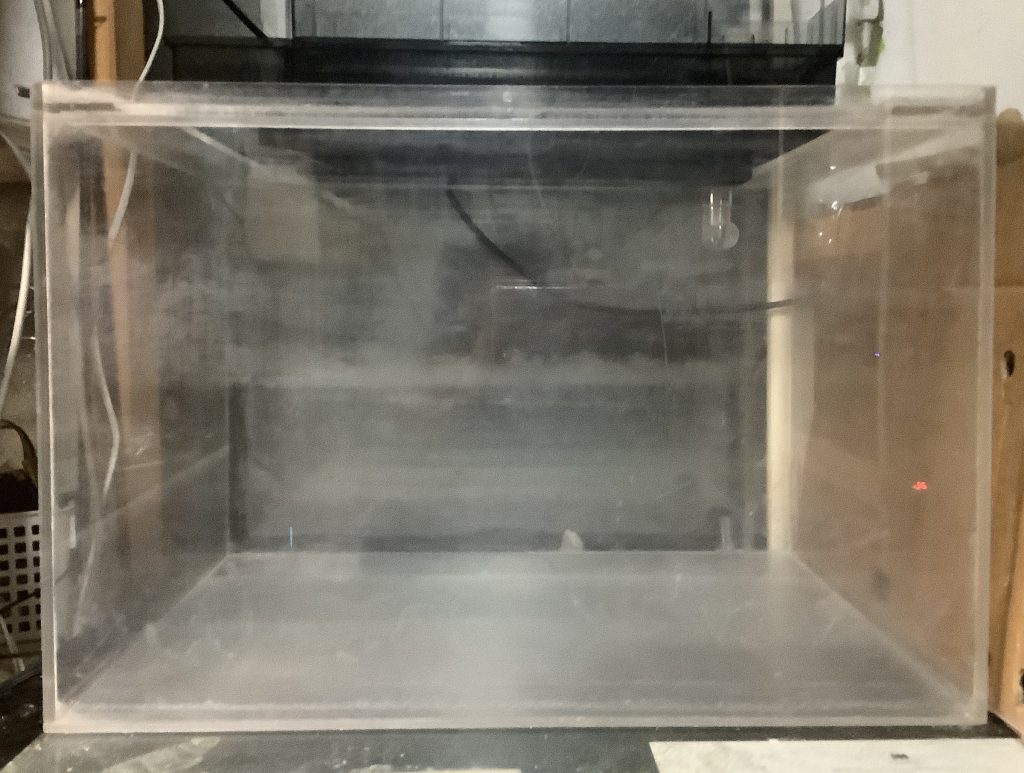
▲ The 60cm wide acrylic tank upon arrival. Its size and generous bottom area are appealing.
As a used item, the condition was as expected. When I got it, the surface had countless fine scratches and was generally cloudy.
The biggest appeal of acrylic tanks is their “higher clarity than glass,” but that clarity was compromised by the scratches.
However, a unique advantage of acrylic over glass is that it can be polished back to pristine condition. I plan to meticulously polish it later.
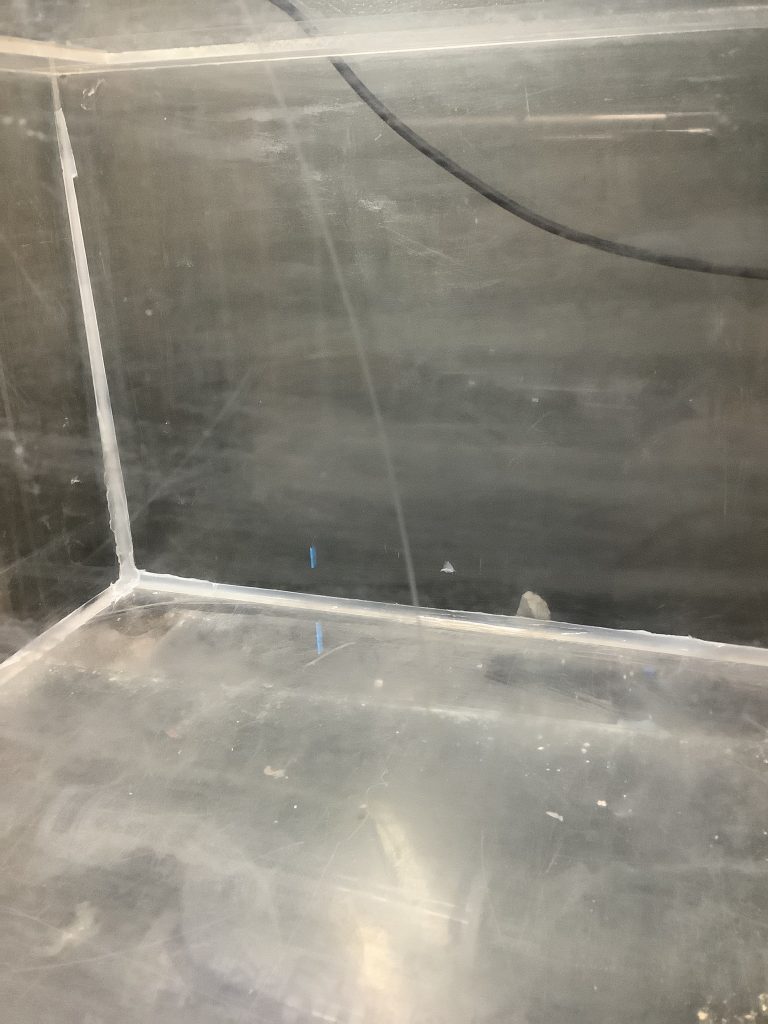
▲ Fine scratches and cloudiness are visible overall. It should become sparkling clean after polishing!
As I proceeded with the setup, a problem immediately arose.
This acrylic tank is built very sturdily, and the reinforcing rim, the flange (rib), was thicker than expected.
When I tried to insert the standard pump for the GEX Grande 600 hang-on filter, which I originally intended to use, it interfered with the flange and wouldn’t fit.
It was a pitfall unique to a well-built acrylic tank.

▲ The thickness of this flange was the problem. The price of sturdiness, I suppose.
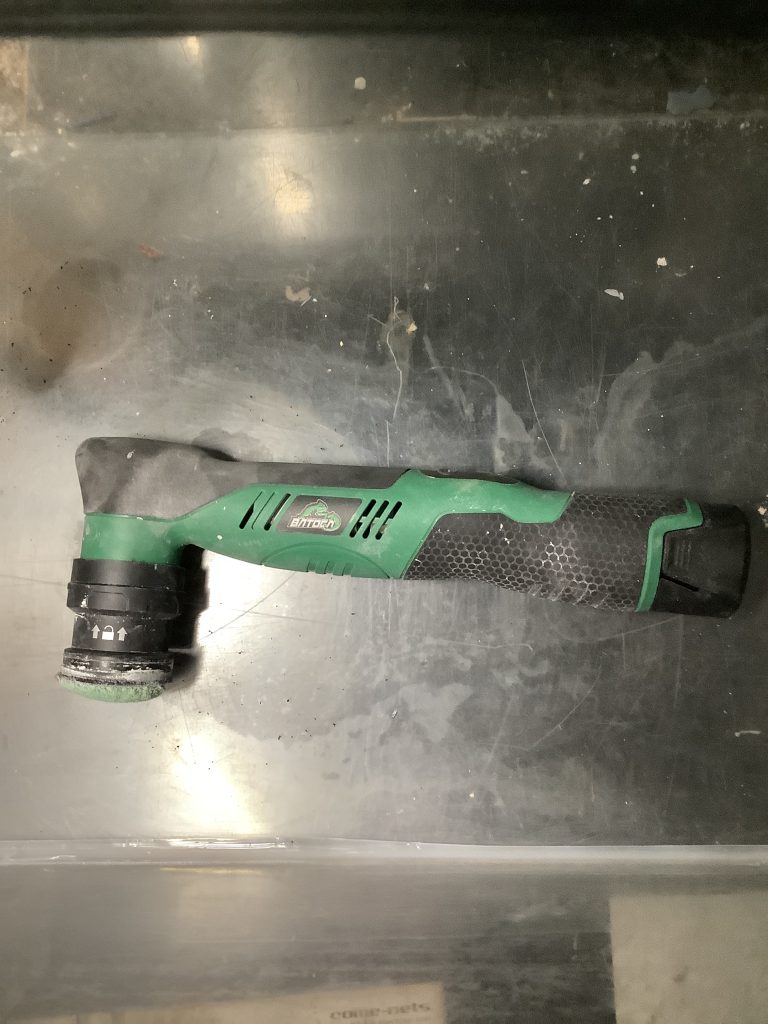
So, what to do? This is where a Kotobuki submersible pump for hang-on filters, which had been dormant in my drawer, came in handy.
It turned out this pump could be inserted, cleverly avoiding the flange’s thickness! I decided to use it as a substitute.
It’s always satisfying when spare parts prove useful. Incidentally, this pump will make an unexpected reappearance in Part 2.
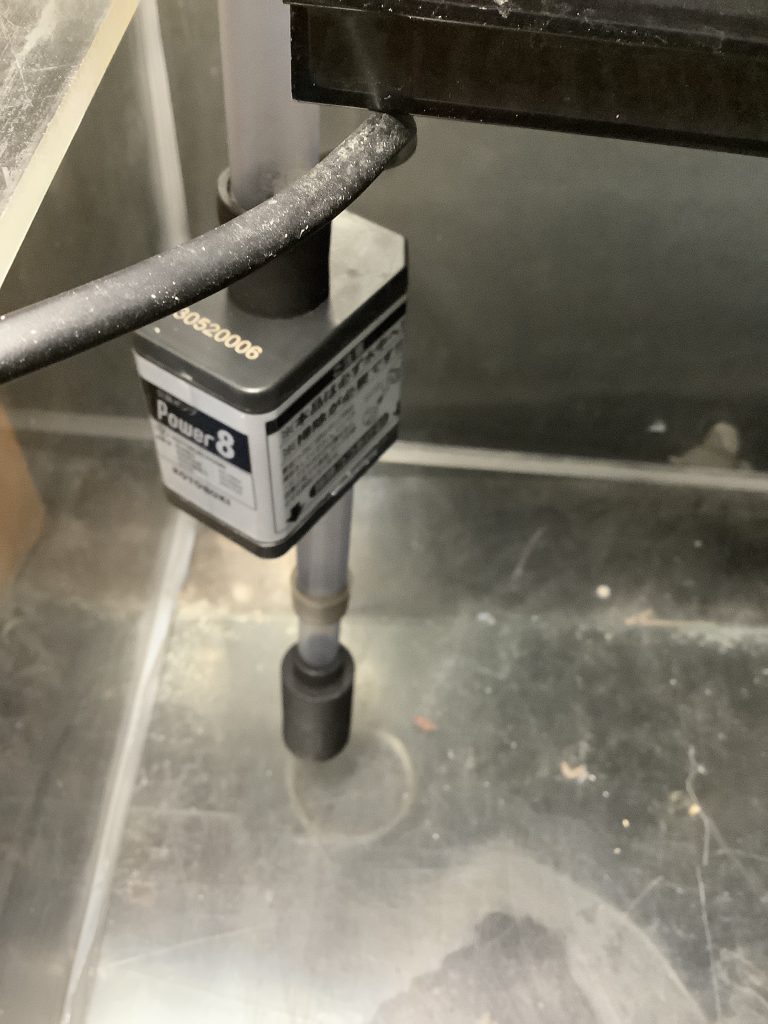
▲ A Kotobuki submersible pump used as a substitute. This will come in handy again later.
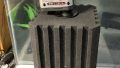
The pump issue is resolved, but since I’m at it, I’ll also enhance the filtration system itself.
I removed the pipes inside the Grande 600’s filter media compartment and intentionally operated it in a dry state. Furthermore, I expanded the space by stacking three commercially available wet & dry filter media trays.
In “dry filtration,” the tank water is showered over the media, maximizing oxygen uptake from the air and promoting the proliferation of far more powerful aerobic bacteria compared to wet systems.
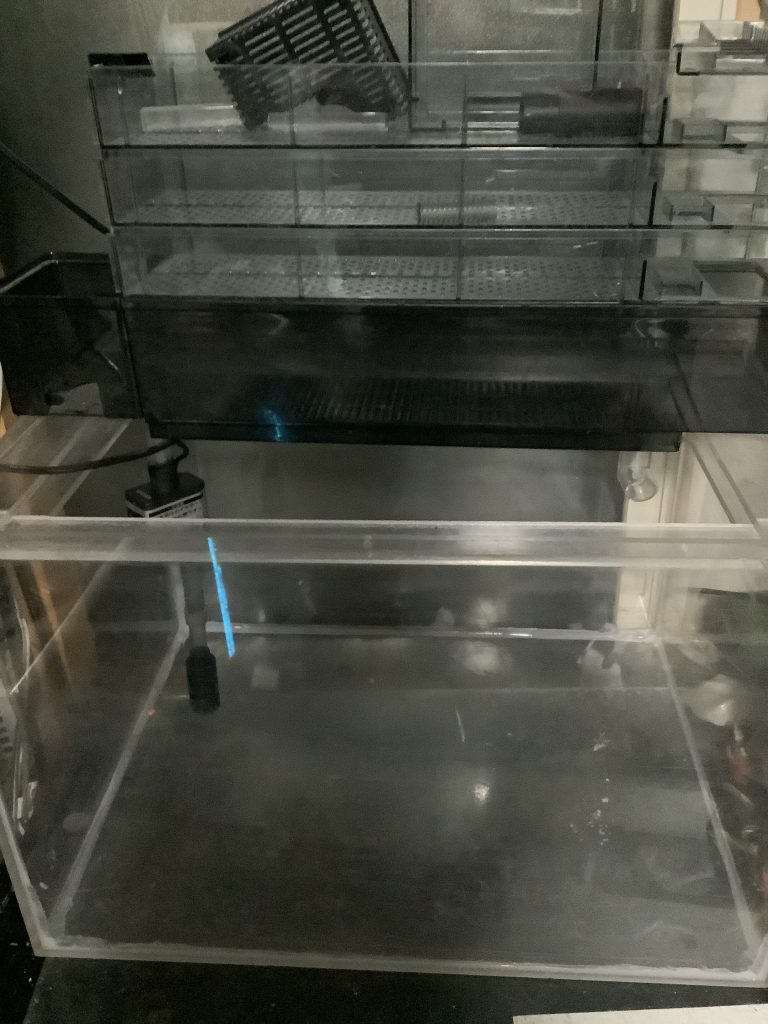
▲ The Grande 600 customized for 3-stage dry filtration. The filter media compartment is now packed.
With the system assembly mostly complete, I moved on to improving its appearance.
Using an electric polisher, I set about buffing out the noticeable scratches and cloudiness. The trick to polishing acrylic is to work carefully, gradually increasing the grit of the compound.
The mirror-like clarity afterward is truly satisfying. I want to make it as clean as possible before welcoming the Imperial Zebra Plecos.
▲ Polishing with an electric polisher. Once it’s sparkling, it’s moving day for the Imperial Zebra Plecos!
The preparation of the tank itself is now complete. In the next installment (Part 2), I’ll introduce a host of carefully selected peripheral equipment to turn this Imperial Zebra Pleco tank into a true “life-sustaining system.”
- 24-hour water temperature monitoring with a SwitchBot waterproof thermometer/hygrometer
- Recreating the high-oxygen environment of the Xingu River with Awataro (Shuwacchi)
- A safety device where a SwitchBot Bot “physically” stops a runaway heater
- A 100-yen item from Seria that’s a Cinderella fit as a lid
Little by little, the “ideal Imperial Zebra Pleco mansion” is surely taking shape. Stay tuned for the next part!
コメント